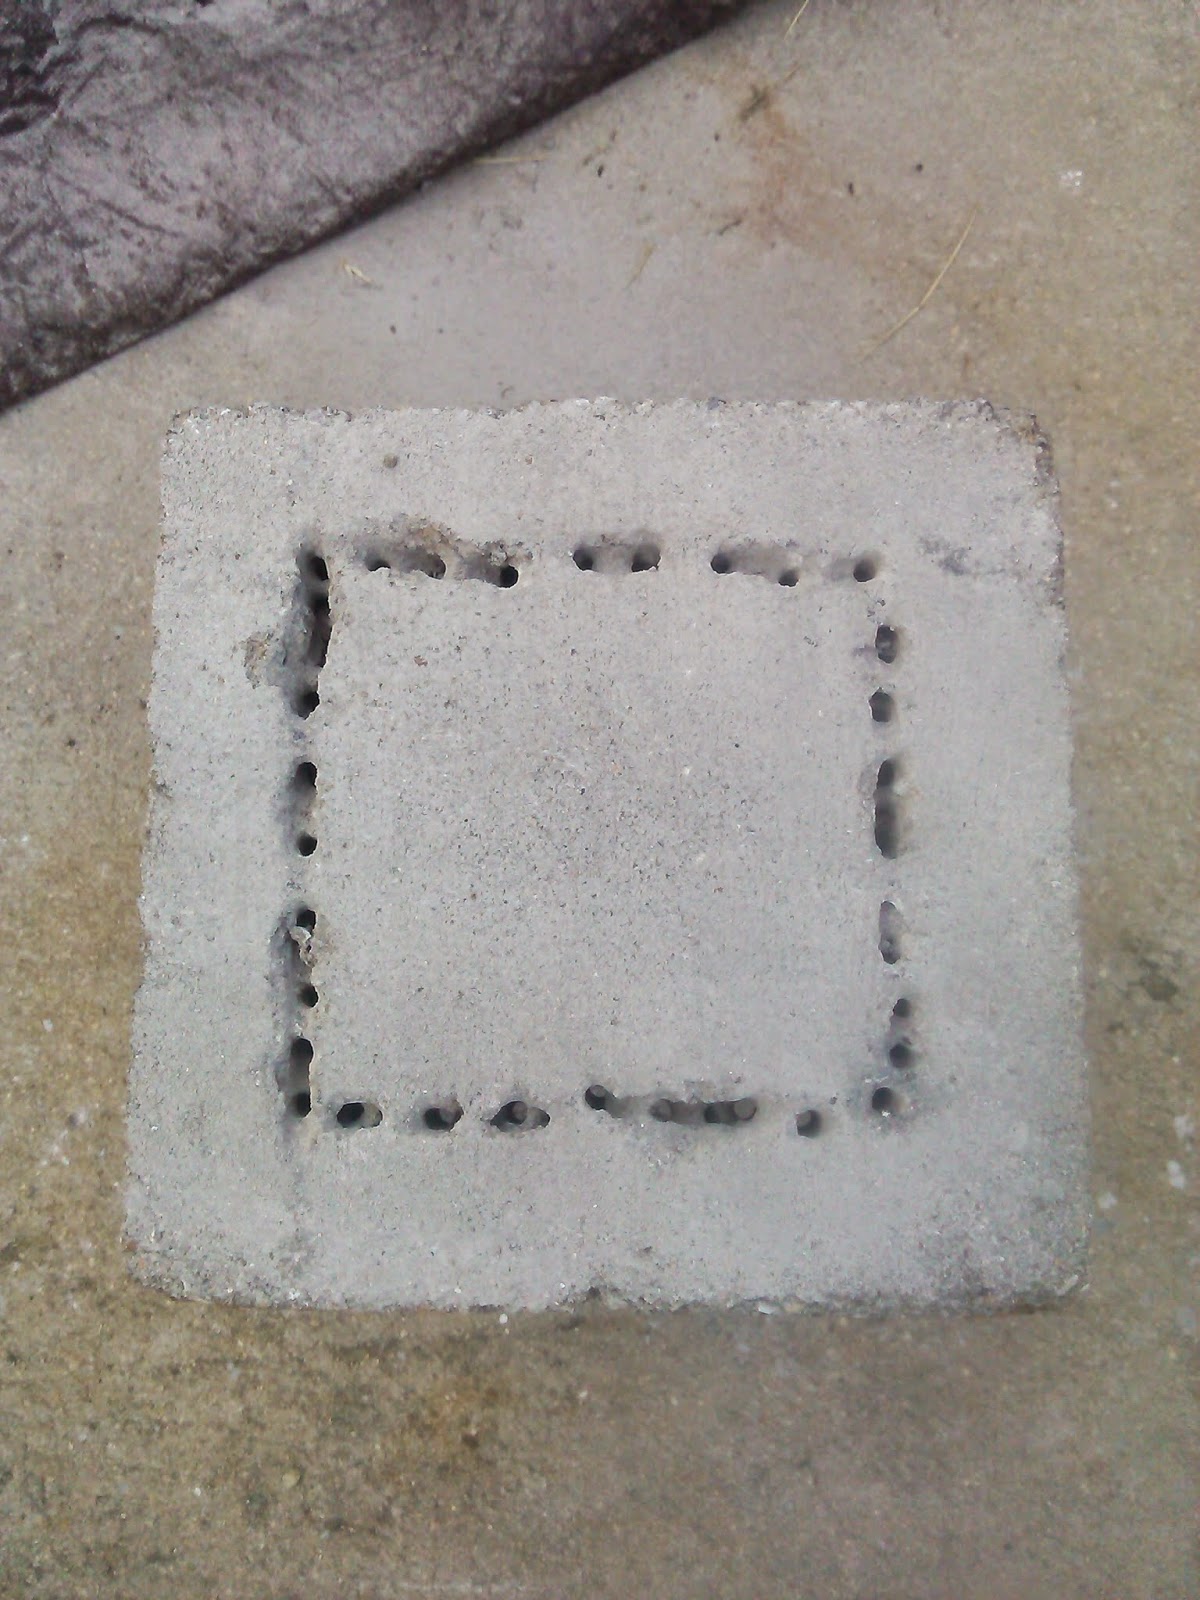
Mine uses standard 16 inch concrete blocks, so I didn't have to go find a special stretcher block like the guy in the video used; on the other hand, mine did require some modification of one block.
So, here's how it went:
First, I modified one block so it can mate up with the feed tube:
I had a small mortar bit handy, so I perforated the block on the guidelines with the intention of chipping it out with the hammer. As it turned out, I just kept drilling in between existing holes until the piece in the middle dropped out, no hammer necessary.
Next, I set this 'transition' piece in place and leveled it, more or less. I have a gravel bed out back in an old swimming pool hole, so that made this part easy.

Then came the chimney, 2 of the remaining pieces:

One more block for a feed tube (the bottom leg of the L in an L-type rocket stove):
The fact that this picture above looks like an L is coincidental, just an artifact of the materials I used. The 'L' referred to when someone mentions an 'L-tube' rocket stove is the shape of the internal burn chamber and exhaust path.
Anyway, time to start some fire. First I preheated the chimney with some paper (and used too much, had to wait forever for it to get done but I didn't document all that).
This is looking in through the feed tube while the preheat fuel (scrap paper) burns in the chimney base (that modifed block I showed at the top of this page).
Then some long cardboard strips (the only larger fuel I actually had available at the time):
And hot-diggity, I got a working rocket stove, rocketing away:
I discovered, while using paper and cardboard scraps to feed this thing, that it does not actually make a great incinerator, because it's TOO efficient. When you're burning scraps, you often want them to go ahead and burn up so you can get on about your other business, but this thing makes the stuff last and last, which means you would be out here a long while if you had a lot of stuff you wanted to burn.
On the other hand, it shore does burn purty on just a little fuel; this thing would be great for emergency cooking.
Later in the evening, I added some more blocks to make a taller chimney. Even with the inefficiencies introduced by the cracks (where you can see the flame peeking through), it still creates a strong draw on the fire.
I had a lot of fun with this; it was mesmerizing to look inside the feed tube and see how the flames were being pulled through the chimney. The draw on this thing is really strong. I didn't get any good pictures of that; I was using my wife's phone for the pic-taking, and was afraid I would get it too close and melt it.
Looking forward to working with rocket stoves a lot more; I bought THE rocket mass heater book and also the videos featuring Ernie and Erica Wisner. Good stuff, I would highly recommend them. They also have a video covering a specific RMH build in detail, along with general construction info.
A decent representative taste of the good info available can be found on youtube.


